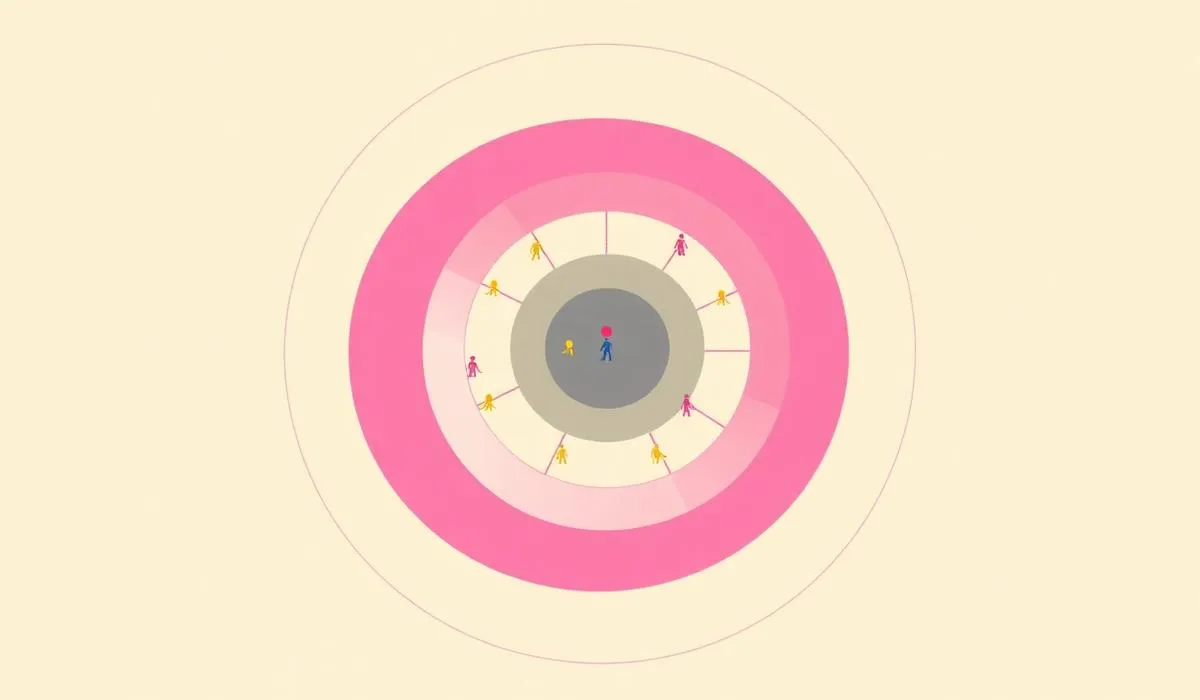
A desktop walkthrough is a prototyping method that allows you to imitate a service environment at scale, on a table, using figures, paper, and sticky notes to recreate a customer's step-by-step journey. It helps detect touchpoints, friction, and opportunities before investing in a real pilot.
It's a physical prototyping method: instead of drawing a screen or building an object, a complete service is represented on a work surface, using figures of people, buildings, counters, and improvised objects. The idea is to imagine a circular experience — the typical route of a customer, a user, or an organization member — and make it visible in miniature.
It serves to recreate scenarios and simulate situations, interactions, and potential problems that people experience when interacting with an organization or service. It is especially useful for validating hypotheses and concepts without investing in a costly pilot project, because previewing the experience step-by-step helps the design team pinpoint key touchpoints before building anything real.
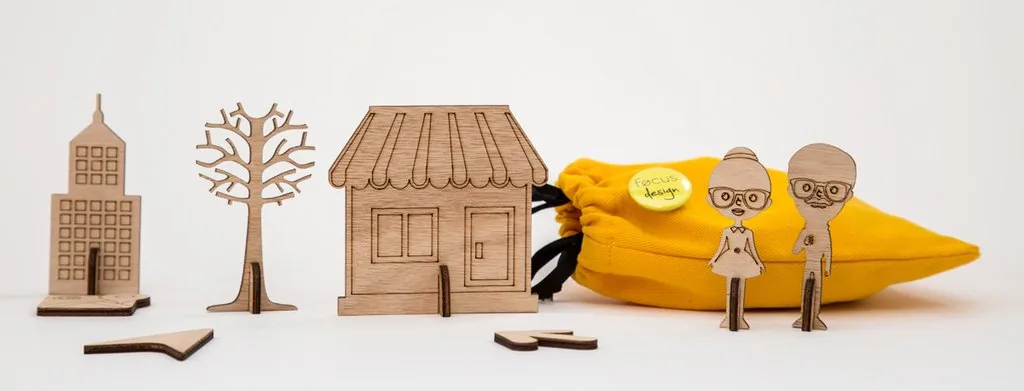
It's worth preparing a reusable box with these materials before the workshop, as they are used repeatedly in different projects: generic figures can represent almost any actor by simply changing their sticker or label with the role they play in that session.
- Prototyping characters (paper figures or small dolls)
- Stickers to represent objects, signs, or emotions
- Flip chart paper or large cardboard as the scene base
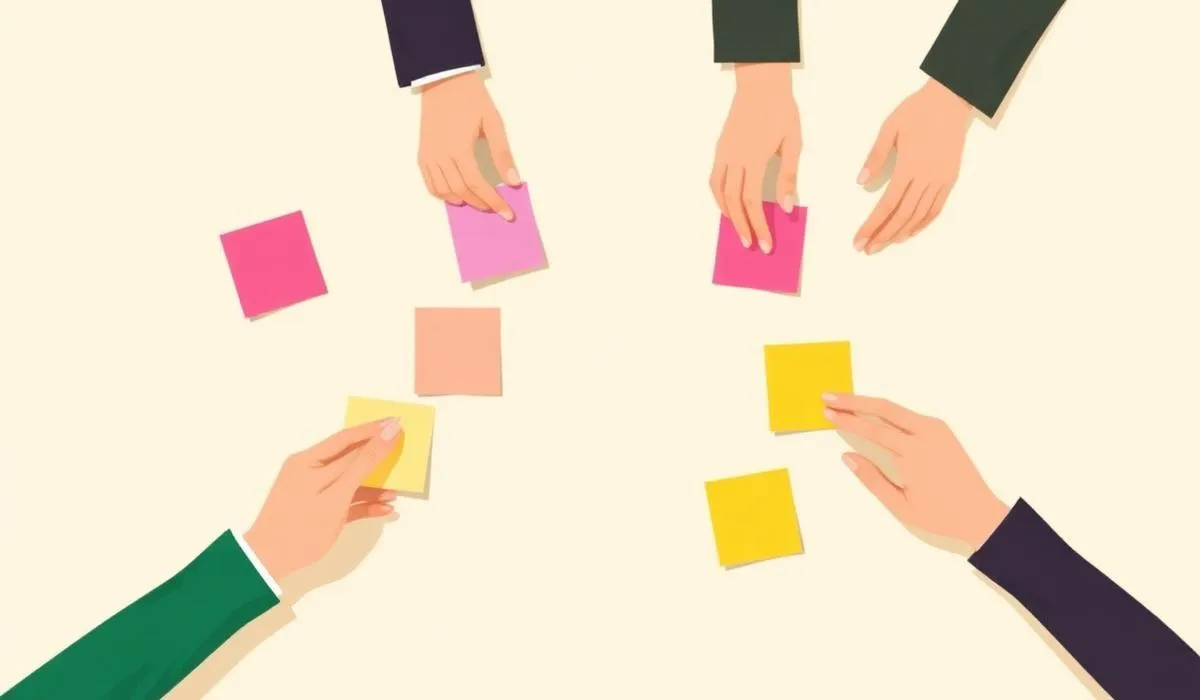
- Sticky notes of different colors
- Paper, pencils, or Sharpies
- Camera or cell phone to record photos and video
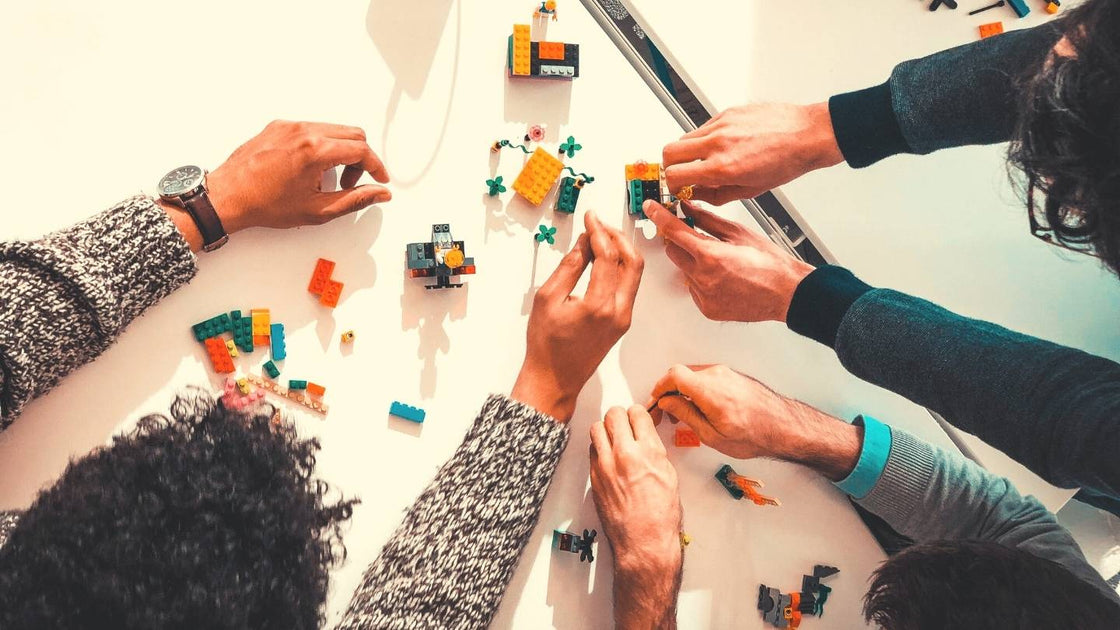
In our two-day workshops, we usually set aside 45 to 60 minutes for this dynamic, with teams of 3 to 6 people. The setup usually follows this order:
- Draw the physical space of the service on the flip chart paper (a branch, a store, an airport, a website represented as "places")
- Personify the actors with figures and stickers: the customer, the salesperson, the system, the delivery person
- Locate the touchpoints previously identified in interviews or on-site observation
- Use your imagination: any object at hand — a lid, a paperclip, a coin — can represent an element of the service
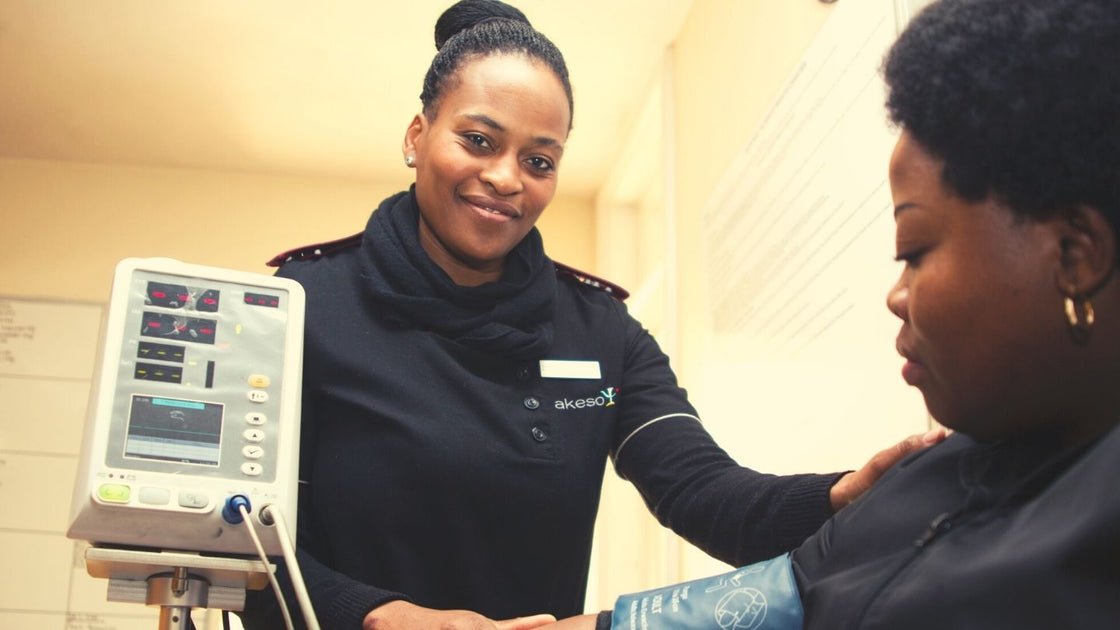
A question that often arises in our workshops is when a desktop walkthrough is appropriate and when a paper prototype is sufficient. The answer depends on the level of resolution you need: if the problem is a screen, a form, or a specific flow, a paper prototype solves it faster and with less setup. If the problem involves several physical spaces, different times of day, or more than one actor interacting simultaneously — such as a bank branch, an airport, or a home delivery process — the desktop walkthrough allows you to see the whole picture, something a sequence of paper screens cannot show.
One team member moves the "customer" figure by figure, narrating aloud what they do, think, and feel at each touchpoint, while the rest of the team intervenes, adjusts the scene, and notes reactions on sticky notes. It is recommended to take photos or video of each scene to later create a storyboard with written descriptions. Repeating the journey two or three times, changing the "customer," helps the team detect variations and avoid getting stuck with a single interpretation of the service.
It is not a one-pass method. In sessions with customers of different profiles — for example, a frequent user and a first-time user of the service — it is advisable to repeat the walkthrough changing that profile, because decisions and friction points vary significantly between the two. It is also useful to repeat it after introducing a change proposed by the team, to compare the "before" and "after" of the same journey and verify if the solution truly solves the detected problem.
Both are low-cost methods for testing ideas before building them, but they answer different questions. A paper prototype works best for validating an interface or screen flow with a real user, while a desktop walkthrough helps understand the complete service, with its physical spaces and multiple actors, even before an interface exists.
| Criterion | Desktop walkthrough | Paper prototype |
|---|
| What it represents | A complete service, with physical space and actors | An interface or screen flow |
| Who it's tested with | The design team, role-playing | A real user, in a test session |
| Typical timing | Early stages of service ideation | Validation of a specific digital solution |
- Skipping the step of previously identifying design challenges, which makes the scene unfocused
- Not recording photos or video, losing findings as soon as the session ends
- Sticking to a single journey, without varying the profile of the "customer" going through the service
- Using the method to validate an interface, when a prototype or usability test is appropriate there
It is also advisable to save the photographic record of each walkthrough in a shared project folder, labeled by date and recreated scenario, to be able to compare successive versions of the same service as the team introduces improvements and retests the complete journey.
Before the session, it is advisable to have input from on-site observation or interviews, so that the desktop walkthrough does not start from assumptions. Afterwards, the natural step is to systematize the detected touchpoints and move on to prototyping and testing concrete solutions in the studied environment. If you worked with different user profiles in the same workshop, complement this exercise with co-design so that users themselves help redesign the journey, and rely on the lean design kit to have the necessary templates and materials at hand.
If you are interested in seeing these dynamics in action, subscribe to the FREED YouTube channel.

 By
By